Difference between revisions of "Translate content"
| Line 33: | Line 33: | ||
8. ICA-AtoM returns you to [[view mode]]. The translated [[Field|fields]] will now appear in the language of translation. Any [[Field|fields]] not yet translated will continue to appear in the application's [[default source language]]. | 8. ICA-AtoM returns you to [[view mode]]. The translated [[Field|fields]] will now appear in the language of translation. Any [[Field|fields]] not yet translated will continue to appear in the application's [[default source language]]. | ||
| + | |||
| + | |||
| + | [[Category:User manual]] | ||
Revision as of 23:50, 7 April 2010
Please note that ICA-AtoM is no longer actively supported by Artefactual Systems.
Visit https://www.accesstomemory.org for information about AtoM, the currently supported version.
Main Page > User manual > UM-5 Translate content / interface > UM-5.2 Translate descriptions and terms
To translate a description or term, work through the record (archival description, authority record, archival institution) or term field by field and ensure that all fields that were entered in the original are translated.
1. In the language menu click the language into which you want to translate.
2. Navigate to the description or term you want to translate. In view mode any fields that have already been translated will appear in the language of translation; any fields not translated will appear in the default source language of the application. Empty fields (no data entered in the original) do not appear in view mode.
3. Click the title bar or edit button to switch to edit mode.
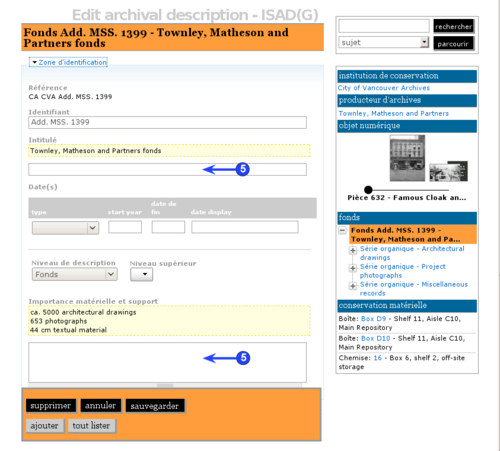
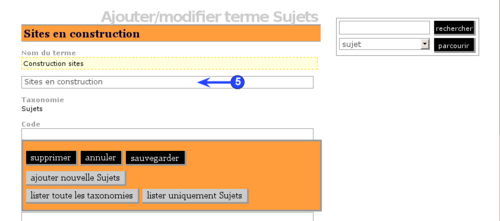
4. For descriptions, open one of the information areas to access data entry fields. For terms the data entry fields will already be accessible.
5. Enter the translation in the data entry field. Note that the original source text is highlighted and appears above the data entry field.
6. Repeat for each field as required.
7. Click the save button.
8. ICA-AtoM returns you to view mode. The translated fields will now appear in the language of translation. Any fields not yet translated will continue to appear in the application's default source language.

